 |
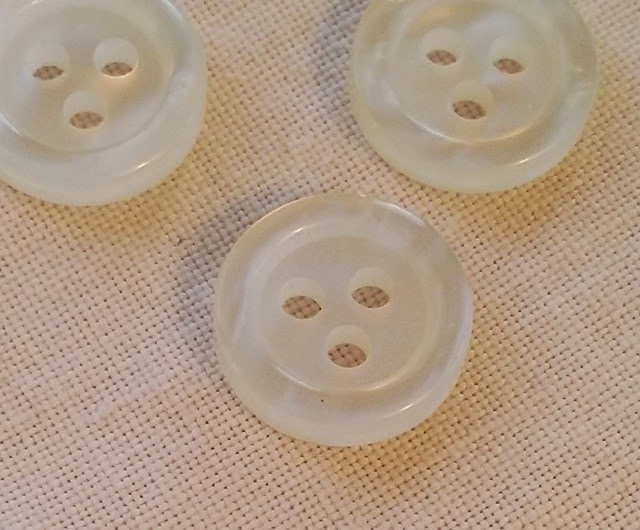
The intensely satisfying thread shank button - this one is especially stiff
|
Creating a shank is slightly more involved than other button application methods - but the hardest part is locating a smooth, round, wooden toothpick for use as a spacer between the button and the fabric. Keep one in the tool compartment of your sewing machine, and experience the recurrent thrill of satisfaction every time you button.
A quicky with your machine will do the trick, but a leisurely shank-making session is a thing of beauty: be prepared with your toothpick handy in case the need should arise.
Hand Sewn, with Shank
 |
| The buttonhole easily straddles the button's shank |
Here's how to do it:
 |
| Toothpick nestles between fabric and button, leaving room to create the shank |
- with the toothpick inserted between the button and the garment, sew four or so passes through each set of holes. Thicker fabric at the buttonhole needs a longer shank - loosen your sewing tension accordingly.
- Remove the toothpick, resulting in slack thread and a toothpick's diameter of space between the now-wobbly button and the garment.
- Bring the needle up into that space.
- Holding the button away from the garment by pinching the loose threads, wrap the thread tail several times around them, forming the shank. More wraps and thicker thread produce a more erect shank.
- Finish off by passing the needle under the thread tail for the last two or three more wraps, forming overhand knots. Bury the thread between the layers of fabric and clip.
By Machine
Or do it cheap and easy - with your zigzag machine. This method is adequate for lesser garments and Halloween costumes, or for those who hate hand sewing more than they love a good shank.
 |
Machine-sewn, no-shank button. Note humped fabric and diagonal thread between the sets of holes.
Unattractive from the front and the back. |
- Drop the feed dogs so there's no traction when stitching.
- Set the machine to the medium zigzag, or "button" setting.
- Mark the garment exactly where the centre of each button should go.
- Place the 2 or 4-holed button on top of the mark. Keep in position with a length of scotch tape* from above. This is important so the button doesn't shift, causing the placket to go out of whack.
- Set the whole thing under the presser foot so the needle is exactly above a hole. Lower the presser foot.
- Start slow. Hand-crank the first stitch. Once the needle is inside the hole, and you're sure the next stitch is going to zig, not zag, use the foot pedal.
- Do 6 or 8 stitches. Some stop at this point, simply clipping the threads. The button will eventually loosen, and fall off.
- Go all the way: leave 3 or so inches when snipping the tail. Tug gently on the bobbin thread to pull both tails through to the wrong side. Tie a reef knot: right over left and under, left over right and under.** Done.
*personally, I would rather do the whole thing by hand than pick off tape shards afterwards and not even have a shank to show for it
**learned that in Brownies
 |
| The position: medium zigzag |

 |
"Be Prepared"
Brownie uniform buttons, c. 1973,
|

Thank you for the trip down memory lane......my ggma taught me to smock and embroider and sew on buttons....properly....because ladies dont wear safety pins :).....it never even occurred to me that you could sew a button on by machine......i might have to try just to say I have LOL.
ReplyDeleteThanks for sharing this nice information of buttons. There are many beautiful buttons available in market which is useful to make cloth more unique and elegant. One of such accessories is metal buttons for clothing, they come in different shapes and sizes and they can actually make a dull outfit look graceful and beautiful.
ReplyDelete